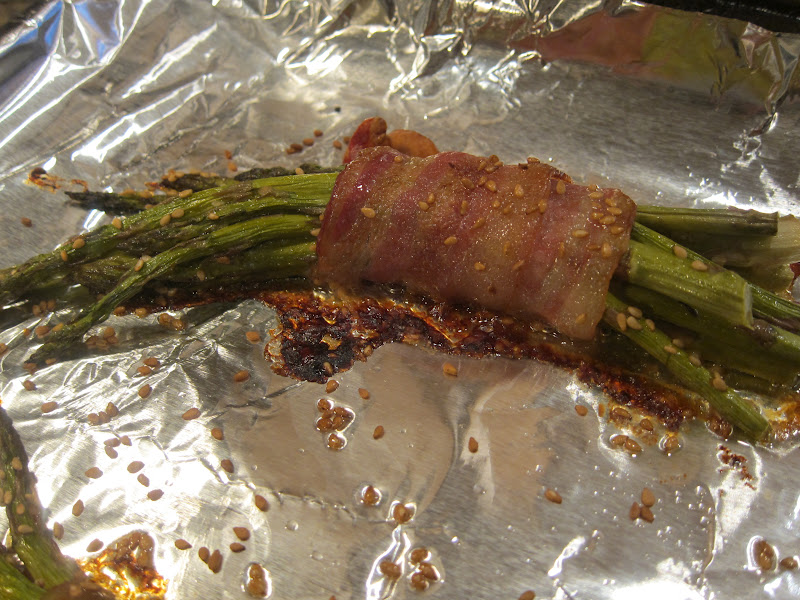
Last night for dinner we had BLT's and fruit salad. Now, I'm not going to share my BLT recipe with you because it's really simple.
Toast. Bacon. Lettuce. Tomato. Go crazy and skip the mayo and smear on some smashed avocado. Easiest dinner ever.
When I was fryin' up the bacon, my middle mini came running up the stairs and said, "Mom, it smells like bacon in here. Are you making bacon? You are? You are
really making bacon? Guys, guess what?!? She is
really making bacon. We have the best mom
ever." Expect to see more bacon recipes from me in the near future.
Clearly, my minis love bacon. In fact, they love it so much that Mr. McGhee convinced them to act like dogs and do tricks for bacon rewards.
They even wear shirts proclaiming their love for bacon.
Since the BLTs were such a hit, I decided to try another kid-friendly dinner for tonight, pizza. However, we gave up processed food and I do not know how to make a pizza crust, so I found myself sort of in a bind. And then I remembered seeing a recipe for
cauliflower crust pizza that I found intriguing. I was super excited when I read the recipe and realized that it called for ricing cauliflower because Mr. McGhee just got me this for my birthday.....
This food processor is totally bitchin'. I have been wanting a food processor for years and this baby was worth.the.wait. So, I was more than happy to fire her up today to rice me some cauliflower.
Cauliflower Crust Pizza
- 1 cup cooked, riced cauliflower (4 pulses in my processor, but who's bragging?)
- 1 cup shredded mozzarella cheese (10 seconds and I had a brick of mozzarella shredded into 3 cups)
- 1 egg, beaten
- 1 tsp dried oregano
- 1/2 tsp crushed garlic
- 1/2 tsp garlic salt
- olive oil (optional)
- pizza sauce, shredded cheese and your choice of toppings*
To rice the cauliflower:
1. Take 1 large head of fresh cauliflower, remove stems and leaves, and chop the florets into chunks.
2. Add to food processor and pulse until it looks like grain. Do not over-do pulse or you will puree it. (If you don't have a food processor, you can grate the whole head with a cheese grater. Then, send your hubby a link to my blog and tell him that Mr. McGhee already did all the research, all he has to do is buy the processor).
Cooking Directions
1. Place the riced cauliflower into a microwave safe bowl and microwave for 8 minutes (some microwaves are more powerful than others, so you may need to reduce this cooking time). There is no need to add water, as the natural moisture in the cauliflower is enough to cook itself.
To Make the Pizza Crust:
1. Preheat oven to 450 degrees. Spray a cookie sheet with non-stick cooking spray.2. In a medium bowl, stir together 1 cup cauliflower (you will have lots of leftovers), egg and mozzarella.
3. Add oregano, crushed garlic and garlic salt, stir.
4. Transfer to the cookie sheet, and using your hands, pat out into a 9" round. Optional: Brush olive oil over top of mixture to help with browning.5. Bake at 450 degrees for 15 minutes.
Remove from oven. To the crust, add sauce, toppings and cheese. Place under a broiler at high heat just until cheese is melted (approximately 3-4 minutes).
*Note that toppings need to be precooked since you are only broiling for a few minutes.*
To answer your question, yes, that crust tastes as good as it looks. I snuck a taste, I couldn't help it! Tonight, we will top it with
pizza sauce, cheese, and green olive on the mini's pizza and
pizza sauce, fresh mozzarella, basil, and veggies on the adult's pizza. I plan on serving it with side salad.
Here is the pizza sauce recipe I made. This is a VERY basic pizza sauce, but I thought it would be perfect with the cauliflower crust.
Pizza sauce
- 3 cloves minced garlic
- 3 tbsp olive oil
- 1 (29 oz) can tomato puree
- 1 (28 oz) can crushed tomato
- 2 tbsp brown sugar
- 1 tbsp italian seasoning
- 1 teaspoon dried basil
- 1/2 tsp salt
- 1/2 tsp crushed red pepper flakes
- In a large saucepan, saute garlic in oil until tender.
- Stir in the remaining ingredients.
- Bring to a boil.
- Reduce heat; simmer, uncovered, for 30 minutes or until sauce reaches desired thickness.
I am hoping that there isn't massive disappointment at the dinner table tonight when the minis realize there is not any bacon being served.
COMING BACK HERE TO EDIT: Oh My. Delish. This pizza crust was amazing. The minis LOVED it. They had no clue that it was made of caulflower. My oldest mini commented that it tasted different than some pizza crusts, and he thought it was from the italian spice. My tiny mini ate FOUR pieces. A total victory!